Aquacal Heat Pump Manual PDF: A Comprehensive Guide
Accessing Aquacal heat pump manuals in PDF format is crucial for owners and technicians alike.
These guides offer detailed installation, operation, and troubleshooting information.
ManualsLib and the official Aquacal website are primary resources for downloadable PDFs,
covering various model numbers like 120 and 155, ensuring proper heat pump maintenance.
Aquacal heat pumps represent a significant investment in efficient pool and spa heating technology.
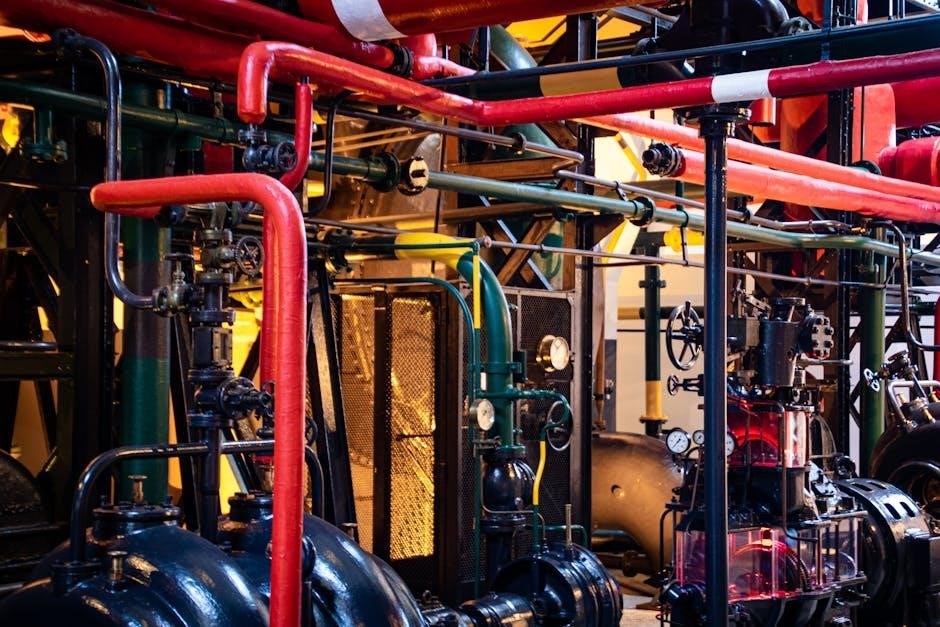
These systems are designed to extract heat from the surrounding air and transfer it to your pool water,
providing a cost-effective alternative to traditional gas or electric heaters.
Understanding the intricacies of your Aquacal unit requires a thorough review of the accompanying manual.
The Aquacal heat pump manual PDF serves as a vital resource, detailing everything from initial setup
and operational procedures to advanced troubleshooting and maintenance schedules. Proper utilization of this
documentation ensures optimal performance, longevity, and safety of your heating system.
Understanding the Importance of the Manual
The Aquacal heat pump manual PDF isn’t merely a supplementary document; it’s essential for safe and effective operation.
It contains critical safety instructions, preventing potential hazards during installation and use. Ignoring these warnings could lead to equipment damage or personal injury.
Furthermore, the manual provides precise installation guidelines, including water flow rate specifications and airflow requirements,
crucial for maximizing efficiency. Detailed operation instructions and troubleshooting sections empower owners to address minor issues independently,
saving on service calls. Accessing and understanding this PDF ensures a prolonged lifespan and peak performance of your Aquacal heat pump.

Locating the Aquacal Heat Pump Manual PDF
Finding your Aquacal heat pump manual PDF is straightforward. ManualsLib and the official Aquacal website offer readily available downloads for various models.
Specific model numbers, like 120 or 155, will refine your search, ensuring you access the correct documentation.
ManualsLib as a Resource
ManualsLib stands out as a valuable, easily accessible online repository for Aquacal heat pump manuals in PDF format. This platform hosts a comprehensive collection, including owners manuals and detailed installation guides for numerous Aquacal models.
Users can quickly locate documentation for models like the Aquacal 120, as well as other series such as 155, 100ahde, and 100bhde. The site’s search functionality allows for precise targeting, streamlining the process of finding the specific manual needed.

ManualsLib provides a convenient alternative to navigating manufacturer websites, offering a centralized location for a wide range of Aquacal heat pump documentation, readily available for download and viewing.
Official Aquacal Website for Manuals
AquaCal.com serves as the primary and most authoritative source for official heat pump manuals in PDF format. The website provides access to a range of documentation, including quick start guides, detailed operation manuals, and comprehensive installation manuals.
Specifically, resources are available for heat pumps utilizing firmware versions v2.XXX, demonstrating ongoing support and updates. Users can often find manuals categorized by product type and model number, simplifying the search process.
Directly accessing the official website ensures users receive the most current and accurate information regarding their Aquacal heat pump, including crucial safety instructions and service related documentation. A dedicated service request section is also available.
Searching for Specific Model Numbers (e.g., 120, 155)
Locating the correct manual hinges on identifying your Aquacal heat pump’s specific model number. ManualsLib, for instance, lists the Aquacal 120 manual alongside documentation for related models like 155, 100ahde, and others.
When searching, utilize precise model numbers to filter results effectively. Many manuals cover multiple similar models, so verifying compatibility is essential. The Aquacal website also allows for targeted searches based on model identification.
Remember to check publication dates – newer manuals often reflect updated features or revisions. Accurate model number input guarantees you access the relevant PDF, ensuring correct installation and operation procedures.

Key Sections within the Aquacal Heat Pump Manual
Essential manual sections include safety instructions, detailed installation guidelines, comprehensive operation instructions, and crucial troubleshooting advice for Aquacal heat pumps.
Safety Instructions and Warnings
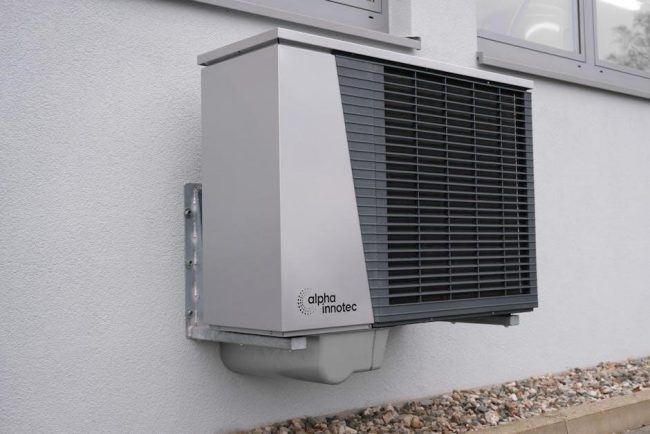
Prioritizing safety is paramount when installing and operating an Aquacal heat pump. The manual explicitly states these units are for outdoor use only, prohibiting indoor installation to prevent potential hazards. Unobstructed airflow around the heat pump is critical; ensure ample space for proper ventilation.
Electrical safety is also emphasized, requiring qualified personnel for all electrical connections. Water flow rates must be maintained as specified to avoid pump damage and ensure efficient operation. The manual warns against using bypass valves other than the AquaCal PN: 2556 spring-check bypass valve, as incorrect valves can cause malfunctions. Always disconnect power before performing any maintenance or inspection.
Installation Guidelines
Proper installation is vital for optimal Aquacal heat pump performance; The manual details specific placement requirements, emphasizing unobstructed airflow for efficient operation. Maintaining correct water flow rate specifications is crucial; deviations can lead to reduced heating capacity or pump damage.
Installation should be performed by qualified technicians, adhering to all local and national codes. The manual provides guidance on connecting the unit to the plumbing and electrical systems. It stresses the importance of using the correct bypass valve – specifically, the AquaCal PN: 2556 spring-check bypass valve – to prevent system issues. Careful attention to these guidelines ensures a reliable and long-lasting installation.
Proper Placement and Airflow Requirements
Aquacal heat pumps are designed for outdoor use only, and the manual explicitly prohibits indoor installation. Optimal performance relies on unobstructed airflow; the unit must be positioned in a well-ventilated area, free from obstructions like plants, fences, or building structures.
Maintaining adequate clearance around the heat pump is essential for efficient operation and prevents overheating. The manual specifies minimum distances from walls and other objects. Restricted airflow reduces heating capacity and can potentially damage the unit. Proper placement ensures the heat pump can effectively extract heat from the surrounding air, maximizing energy efficiency and extending its lifespan.
Water Flow Rate Specifications
Maintaining correct water flow rates is paramount for Aquacal heat pump efficiency and longevity. The manual details specific flow rate requirements, varying by model, to ensure optimal heat transfer; Insufficient flow can lead to reduced heating capacity, potential freezing in colder climates, and compressor damage.
Conversely, excessive flow may not necessarily improve performance and could strain the pump. The manual emphasizes the importance of verifying flow rates using appropriate testing methods. Adhering to these specifications, as outlined in the PDF, guarantees the heat pump operates within its designed parameters, maximizing energy savings and preventing costly repairs.
Operation Instructions
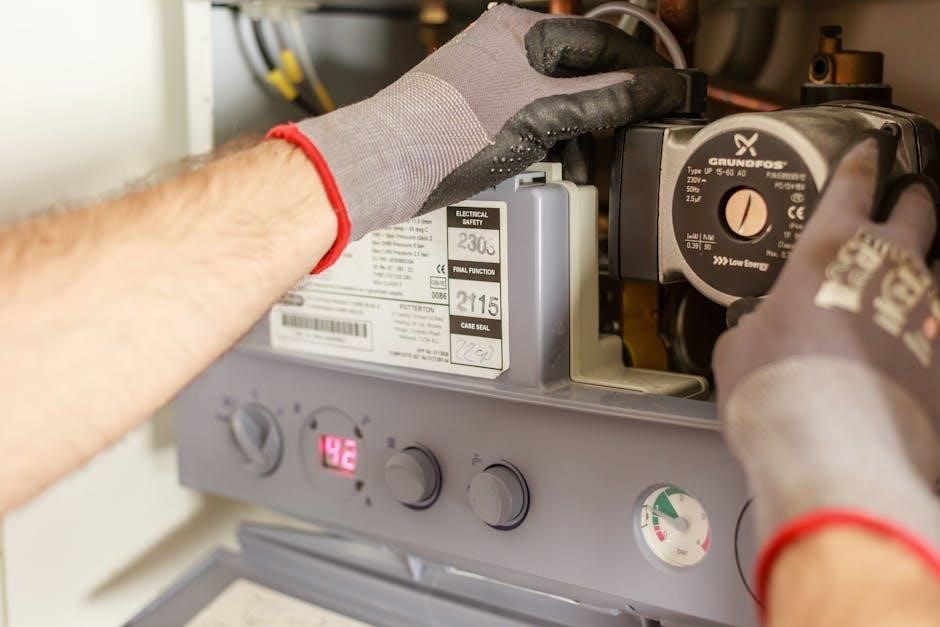
The Aquacal heat pump manual PDF provides comprehensive guidance on operating your unit effectively. It details the functionality of the control panel, explaining each button and display indicator for precise temperature adjustments and monitoring. Understanding these controls is key to maximizing comfort and energy efficiency.
Start-up and shut-down procedures are clearly outlined, emphasizing the correct sequence to prevent damage and ensure reliable performance. The manual also covers operational considerations for varying weather conditions. Following these instructions diligently, as detailed in the PDF, will guarantee smooth operation and prolong the lifespan of your Aquacal heat pump.
Understanding Control Panels
The Aquacal heat pump manual PDF dedicates significant detail to understanding the control panel’s interface. It illustrates each button, display, and indicator light, explaining their specific functions. Users will learn how to adjust setpoints, monitor water temperature, and interpret error codes directly from the panel.
Firmware version v2.XXX heat pumps may have slightly different panel layouts, so referencing the correct manual is crucial. The PDF guides users through navigating menus, activating features, and customizing settings for optimal performance. Mastering the control panel, as described in the manual, empowers owners to efficiently manage their pool or spa heating system.
Start-up and Shut-down Procedures
The Aquacal Heat Pump Manual PDF provides step-by-step instructions for both starting up and shutting down the unit, crucial for longevity and efficiency. It details pre-start checks, including verifying proper water flow rates and electrical connections. The manual emphasizes the importance of priming the pump before initial start-up to prevent damage.
Shut-down procedures are equally important, particularly for seasonal closures or extended periods of non-use. The PDF outlines how to safely power down the unit, drain water from the system (if applicable), and protect it from freezing temperatures. Following these procedures, as detailed in the manual, ensures reliable operation and minimizes potential issues.
Troubleshooting Common Issues
The Aquacal Heat Pump Manual PDF is invaluable for diagnosing problems. It details error code meanings, addresses water flow issues, and resolves temperature inconsistencies efficiently.
Effective troubleshooting relies on understanding these common issues and following the manual’s guidance for quick resolutions.
Diagnosing Error Codes
The Aquacal Heat Pump Manual PDF provides a comprehensive list of error codes specific to each model. These codes are the heat pump’s way of communicating malfunctions, offering crucial diagnostic clues; Understanding these codes, as detailed in the manual, is the first step towards effective repair.
Each error code corresponds to a specific problem, ranging from sensor failures to refrigerant issues or water flow restrictions. The manual doesn’t just list the code; it explains the probable cause and suggests step-by-step troubleshooting procedures. Technicians and owners can systematically check components and settings based on the manual’s guidance. Ignoring error codes can lead to further damage, so prompt diagnosis using the PDF is essential for maintaining optimal performance and preventing costly repairs.
Addressing Water Flow Problems
The Aquacal Heat Pump Manual PDF emphasizes the critical importance of proper water flow for efficient operation. Insufficient or inconsistent water flow is a common issue, often triggering error codes and reducing heating capacity. The manual details required flow rate specifications for each model, ensuring optimal performance.
Troubleshooting water flow problems involves checking several components, as outlined in the PDF. This includes inspecting the pump, filter, and plumbing for blockages or restrictions. The manual guides users through verifying proper valve settings and identifying potential airlocks. Maintaining correct water flow not only maximizes heat transfer but also protects the heat pump from overheating and potential damage, extending its lifespan and ensuring reliable operation.
Dealing with Temperature Inconsistencies
The Aquacal Heat Pump Manual PDF provides guidance on resolving temperature discrepancies, a frequent concern for users. Inconsistent heating or cooling can stem from various factors, and the manual systematically addresses potential causes. It highlights the importance of verifying the setpoint on the control panel and ensuring it aligns with desired temperatures.
Troubleshooting involves checking for obstructions affecting airflow around the unit, as detailed in the PDF. The manual also instructs users to assess water temperature entering and exiting the heat pump, comparing it to specified parameters. Addressing temperature inconsistencies often requires examining the unit’s operation during peak and off-peak hours, alongside verifying proper bypass valve installation, to ensure consistent and efficient performance.
Maintenance and Care
The Aquacal Heat Pump Manual PDF details essential upkeep, including regular cleaning and winterization. Following these procedures ensures optimal performance and extends the unit’s lifespan.
Regular Cleaning Procedures
Aquacal Heat Pump Manuals emphasize the importance of consistent cleaning for efficient operation. The PDF guides recommend periodic inspection and removal of debris from the unit’s exterior, particularly around the fins, to maintain proper airflow.
Regularly hose down the coil, avoiding high-pressure streams that could damage the delicate fins. Manuals also suggest checking and cleaning the fan blades, ensuring they are free from obstructions. Inspecting the unit’s base for leaves, twigs, and other accumulated debris is also vital.

Following these cleaning procedures, as outlined in the Aquacal PDF, helps prevent reduced efficiency, potential overheating, and ultimately, extends the lifespan of your heat pump. Refer to your specific model’s manual for detailed instructions and recommended cleaning frequencies.
Winterization Steps
Aquacal Heat Pump Manuals provide crucial winterization instructions to protect your unit from freezing temperatures. The PDF guides detail the necessity of draining all water from the heat pump and associated plumbing lines before the onset of freezing weather;
Specifically, the manual advises disconnecting power and utilizing a blower to clear any remaining water. It’s essential to follow the manual’s guidance on covering the unit to shield it from the elements, while still allowing for adequate ventilation.
Proper winterization, as detailed in the Aquacal PDF, prevents costly damage from ice formation and ensures your heat pump is ready for seamless operation when warmer temperatures return. Always consult your model’s specific manual for tailored winterization procedures.
Aquacal Heat Pump Parts and Diagrams
Aquacal Heat Pump Manuals, often in PDF format, contain essential parts lists and exploded views.
These diagrams aid in identifying components and understanding the heat pump’s assembly for repairs.
Accessing Parts Lists
Aquacal heat pump manuals, readily available as PDF downloads from resources like ManualsLib and the official Aquacal website, are invaluable for locating detailed parts lists. These lists meticulously itemize every component of your specific heat pump model – from the fan motor and compressor to smaller elements like screws and gaskets.
Identifying the correct part number is simplified by referencing the diagrams within the manual. Parts lists typically include a part number, description, and often, a visual representation of the component. This ensures accurate ordering when replacements are needed. Model-specific manuals are crucial, as parts vary significantly between different Aquacal heat pump series (e.g., 120, 155).
Online parts retailers often require the exact part number for order fulfillment, making the manual an essential tool for successful repairs and maintenance.
Understanding Exploded Views
Aquacal heat pump manuals, obtainable in PDF format, frequently include exploded views – detailed diagrams illustrating how the heat pump is assembled. These aren’t just pictures; they’re crucial for understanding the relationship between components and simplifying repair procedures.
Exploded views depict each part as if it were separated, revealing its precise location and how it connects to others. This visual breakdown is immensely helpful when disassembling or reassembling the unit. Referencing these diagrams alongside the parts list ensures correct component identification and placement.
Understanding the sequence of assembly, as shown in the exploded view, prevents errors during maintenance. Manuals for models like the 120 and 155 will have unique diagrams, emphasizing the importance of using the correct manual for your specific unit.

Bypass Valve Installation
Aquacal manuals emphasize using only the PN: 2556 spring-check bypass valve for optimal performance.
Incorrect installation can lead to system issues, as detailed in the PDF guides.
Using the Aquacal PN: 2556 Spring-Check Bypass Valve
Aquacal heat pump manuals consistently recommend the PN: 2556 spring-check bypass valve to ensure reliable operation and prevent damage to the unit. This specific valve is engineered to work seamlessly with Aquacal systems, managing water flow during periods of reduced demand or when the heat pump is undergoing maintenance.
The spring-check design automatically allows water to bypass the heat pump when flow rates are insufficient, protecting the compressor from overheating and potential failure. PDF manuals detail the correct orientation and installation procedures for this valve, emphasizing the importance of following these instructions precisely. Using alternative bypass valves may void warranties and compromise system efficiency. Proper installation, as outlined in the documentation, is critical for long-term performance.
Importance of Correct Bypass Valve Installation
Aquacal heat pump manuals repeatedly stress the critical nature of correct bypass valve installation. Improper installation can lead to several issues, including reduced heating efficiency, potential damage to the heat pump’s compressor, and even system failure. The PDF guides detail specific procedures to ensure optimal performance and longevity.
Incorrectly installed valves may not adequately bypass water flow during low-demand periods, causing the unit to overheat. Conversely, a poorly fitted valve could allow excessive bypass, diminishing heating capacity. Following the manual’s diagrams and instructions precisely is paramount. Failure to adhere to these guidelines may invalidate the product warranty and necessitate costly repairs. Always use the recommended Aquacal PN: 2556 valve for guaranteed compatibility.